Green Screen Tutorial (GIMP 3.2)
This is it! Finally an updated tutorial on how to make use of green screen from NGS to GIMP!
Starting point
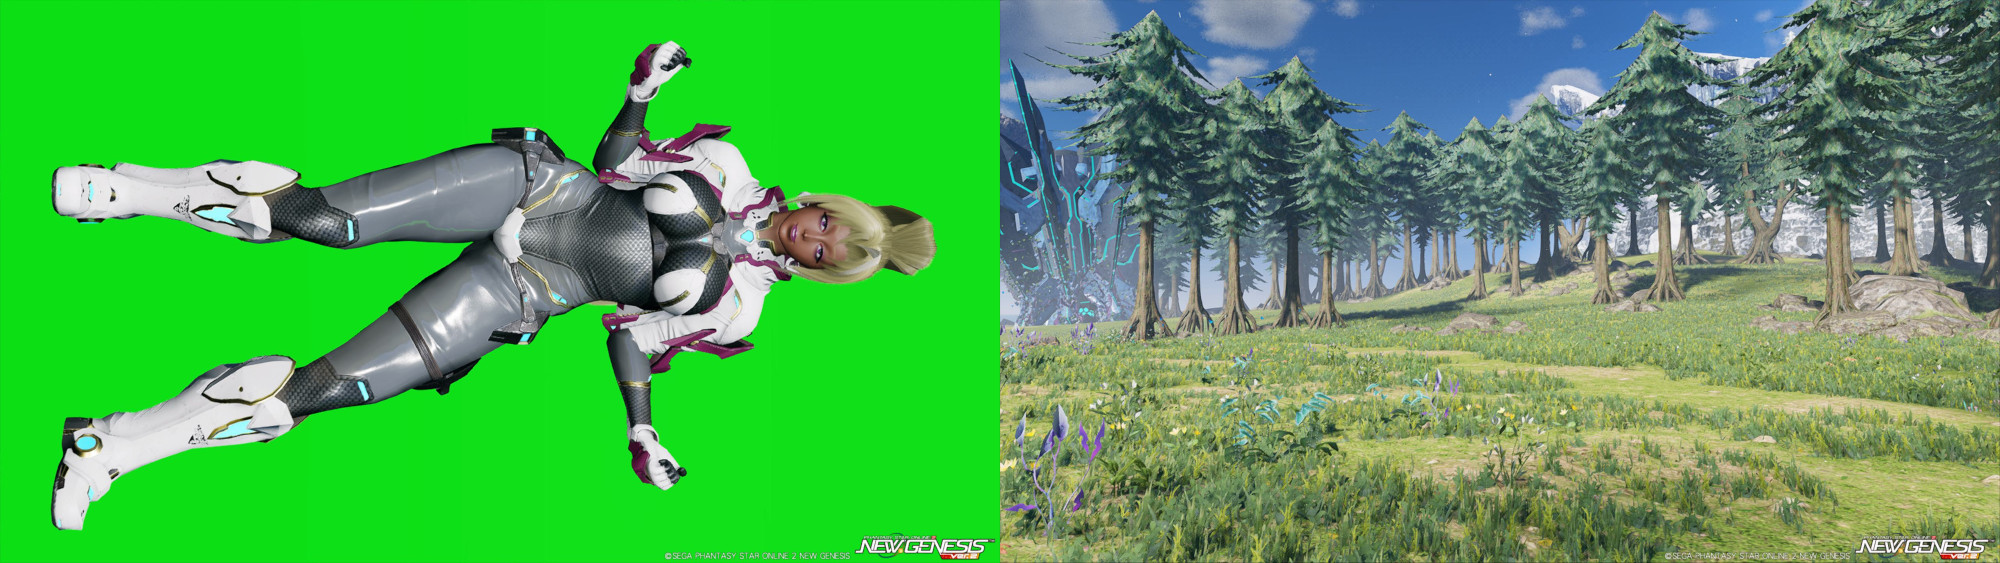
On the left is a screenshot of my character and on the right is the screenshot of a background. The reason why the screenshot on the left is "rotated" is becuase I want to take advantage of the whole screen region. If I just took a screenshot of the character at the middle-center and not rotated, I'll just have a low quality, blurly and maybe even pixeled screenshot of my character. It's best to take advantage of the whole screen!
Using the program
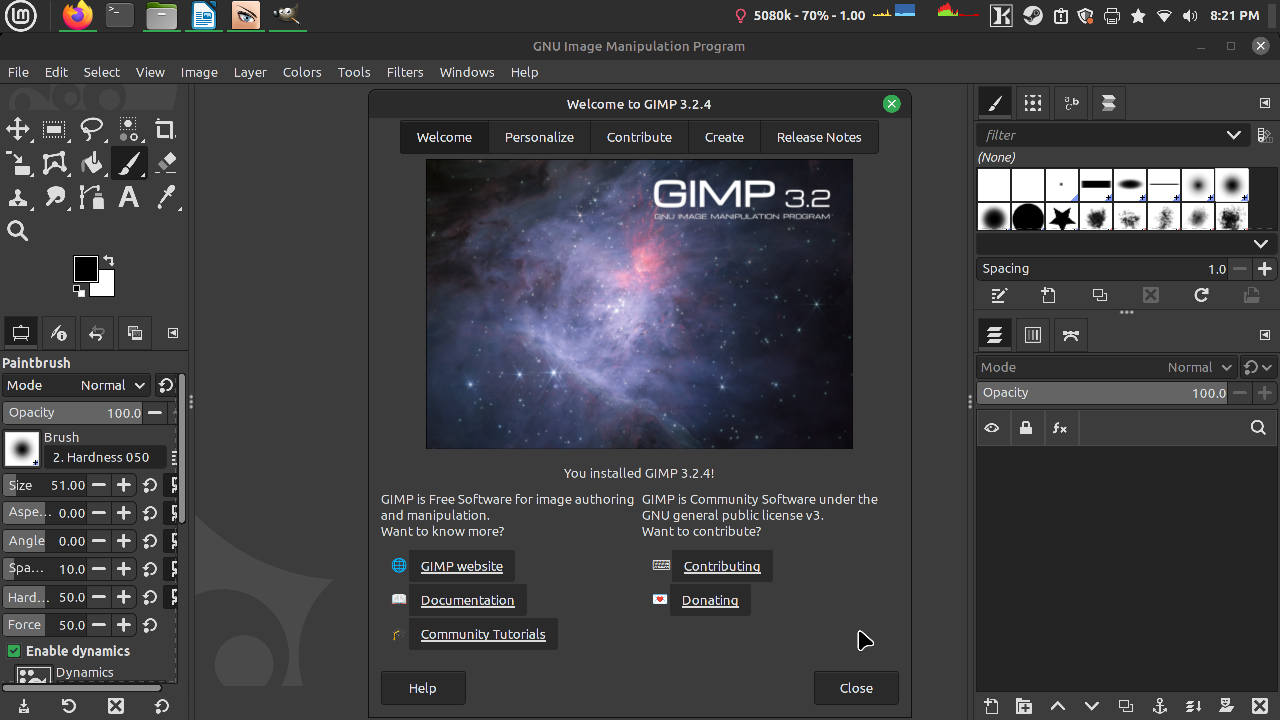
Welcome to GIMP 3.2, oddly enough I've been using 2.1 for so long that I never bothered updating it. So here is the latest version! I don't think I need to guide you on how to install it but I should at least provide the link: (Website)
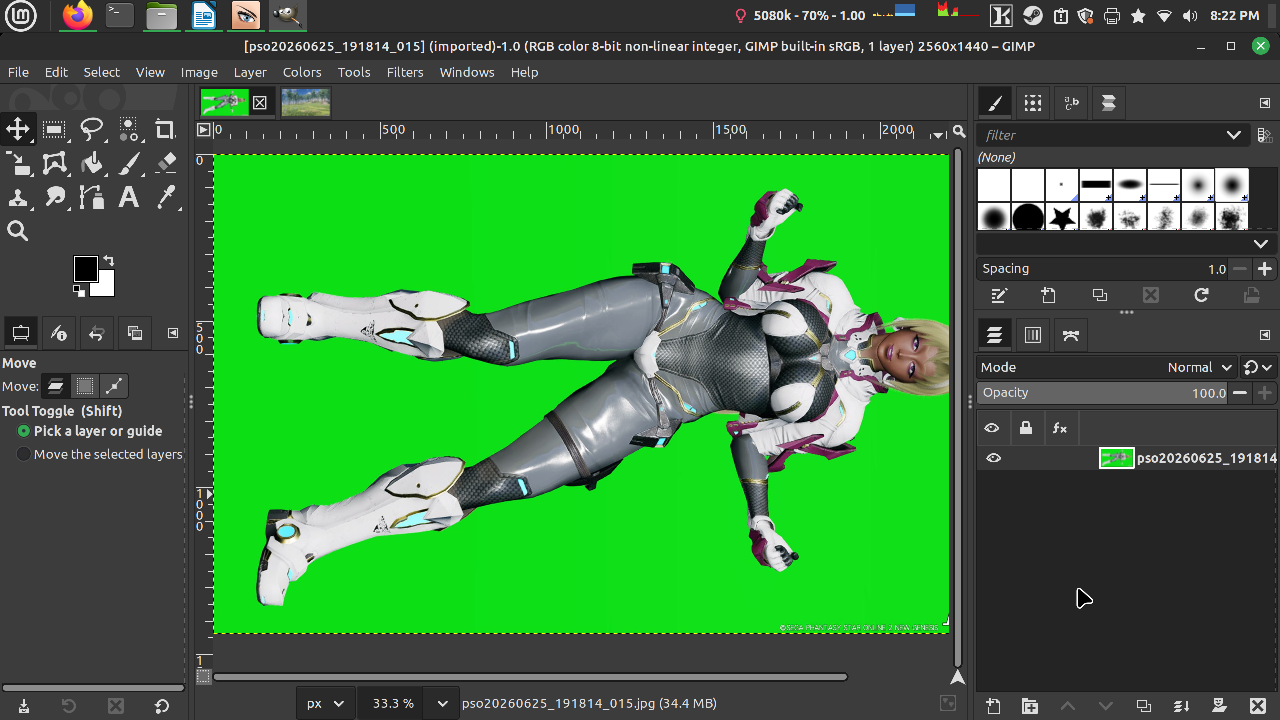
After you taken your screenshots, you'll need to open the images in the software. The screenshots should be located at "Documents -> SEGA -> PHANTASYSTARONLINE2 -> pictures"
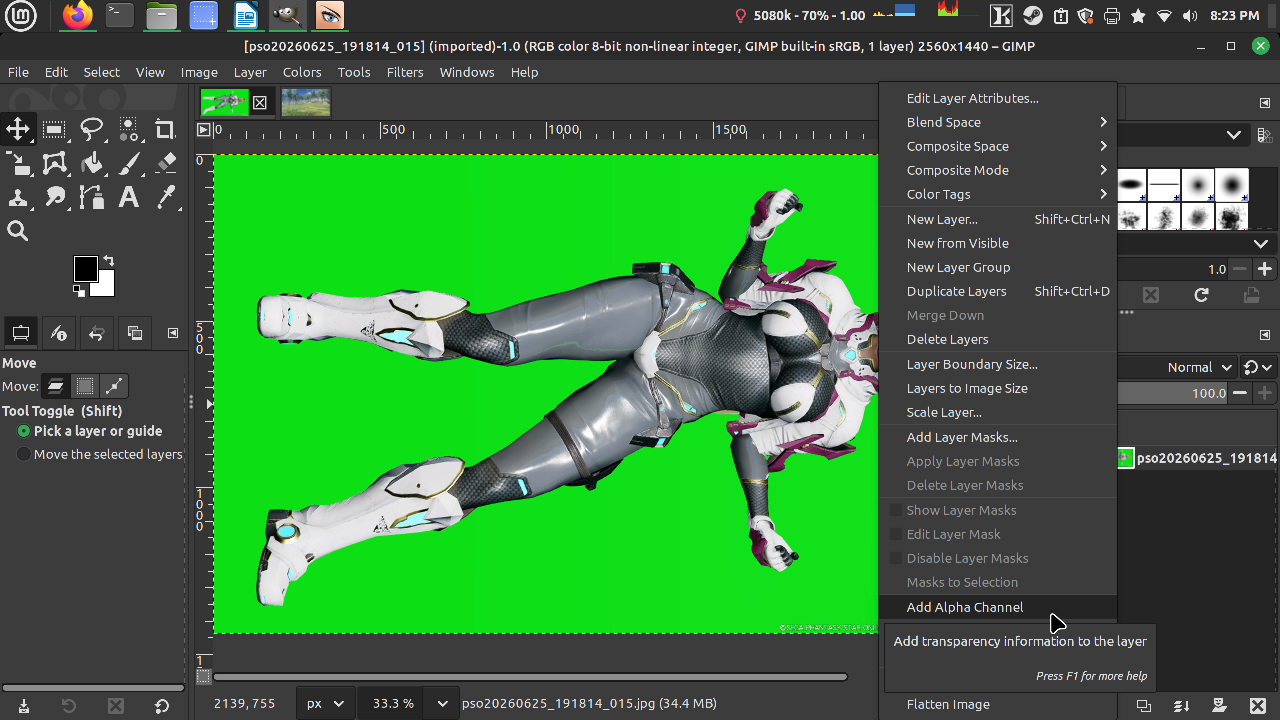
First order of business, on the file that has the green screen, right click on the layer and select "Add Alpha Channel." This is only needed if your file is jpg, if yours is png then it's not needed.

Let's rotate this image so we don't keep turning our heads.
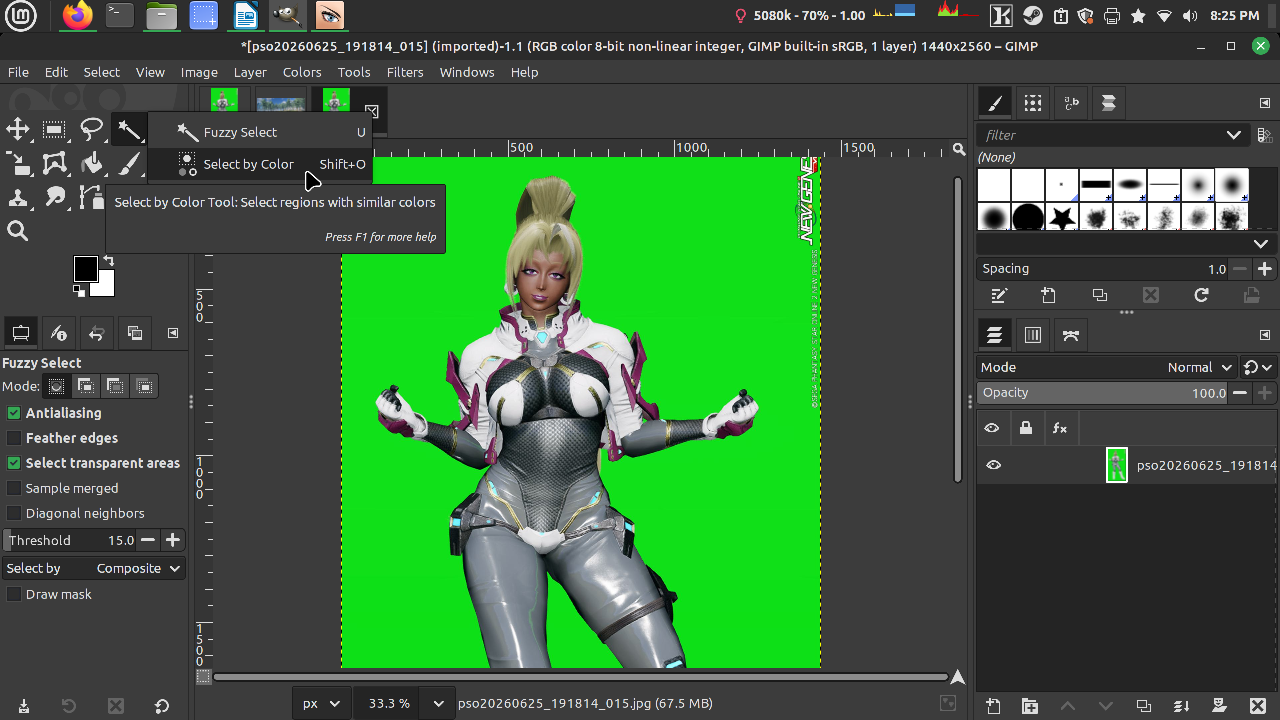
Important note: If you don't see the tool that I am using then please make sure to right-click on the tools to use the correct one. Here I am going to use "Select by Color."
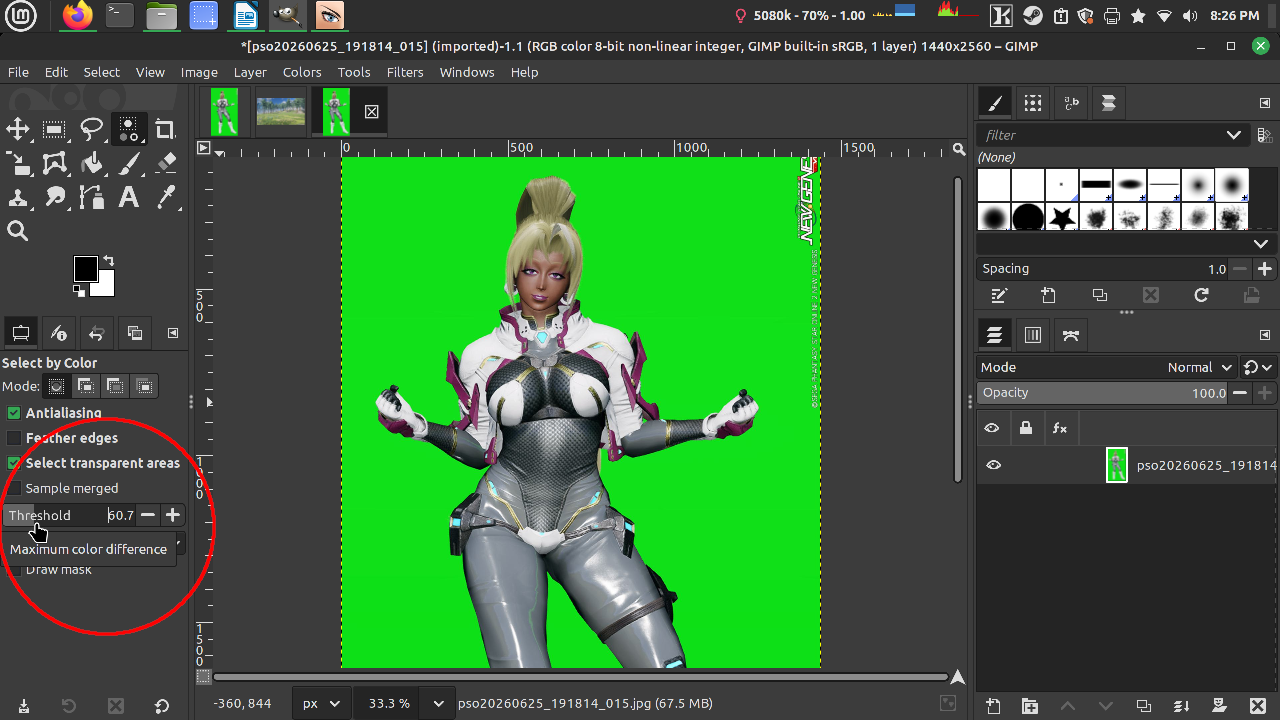
This'll require a good amount of tickering, usually I put my Threshold 60 to 70. Just be sure to pay attention to all areas. Click on the green screen area.
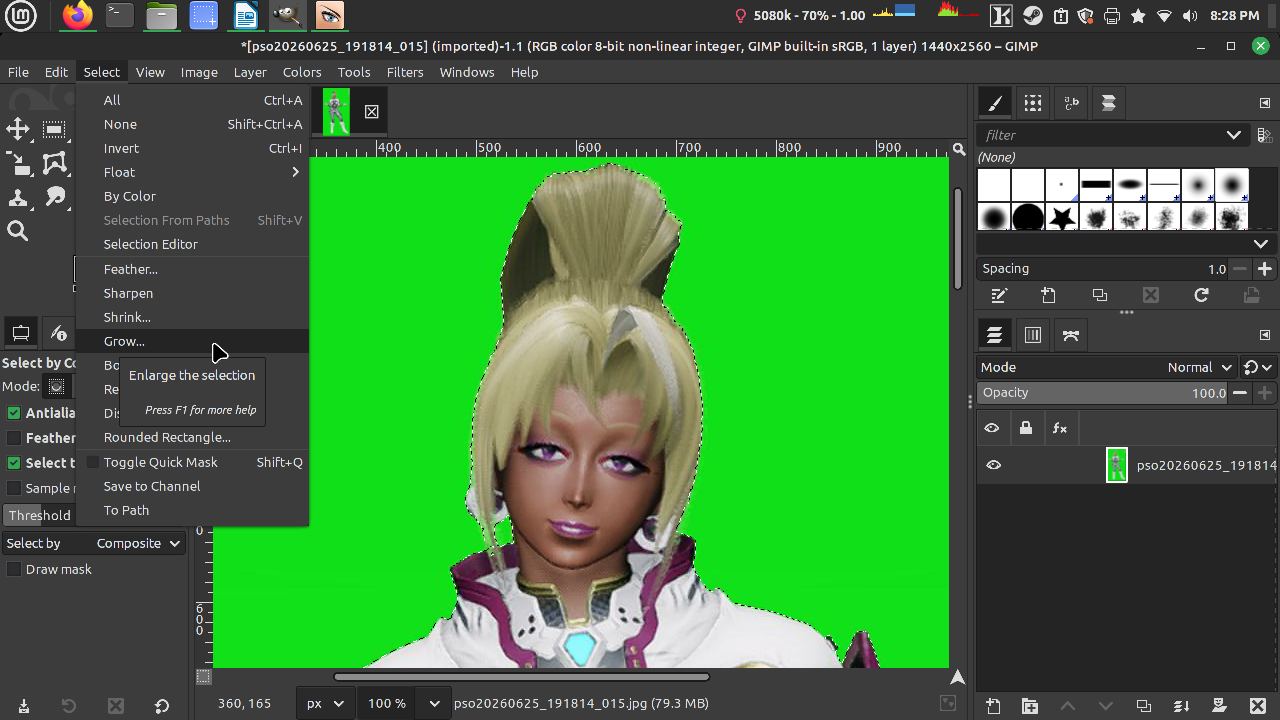
After you click on the green screen, click on Grow and go by 1 pixel then enter.
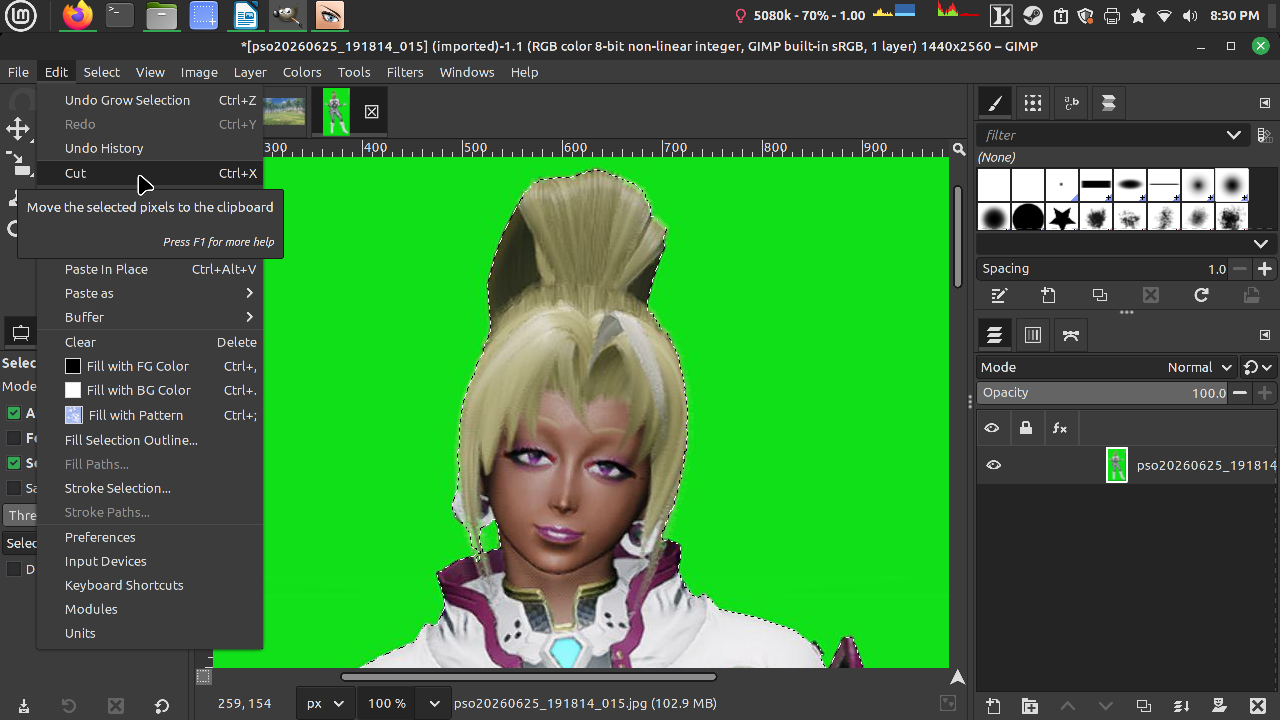
It's time to cut (or use delete key on your keyboard.)
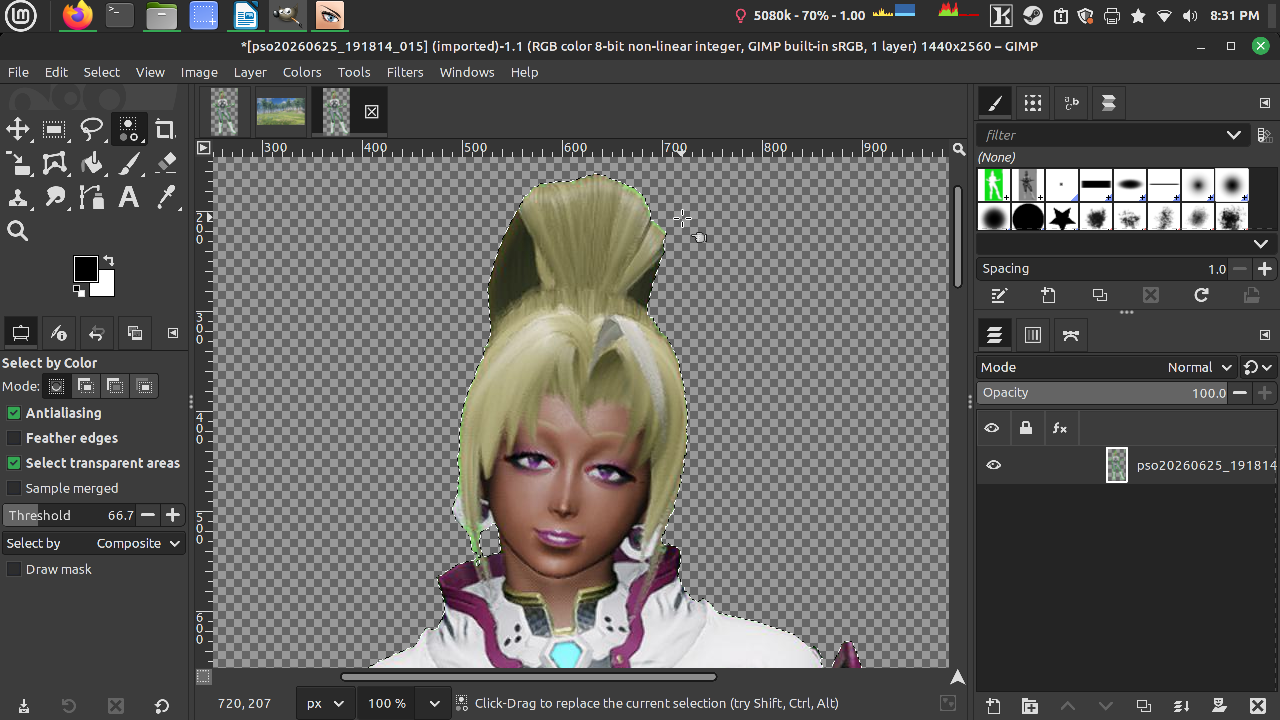
Okay, you'll see that the edges around the hair has some leftover of green color, we are going to fix that.
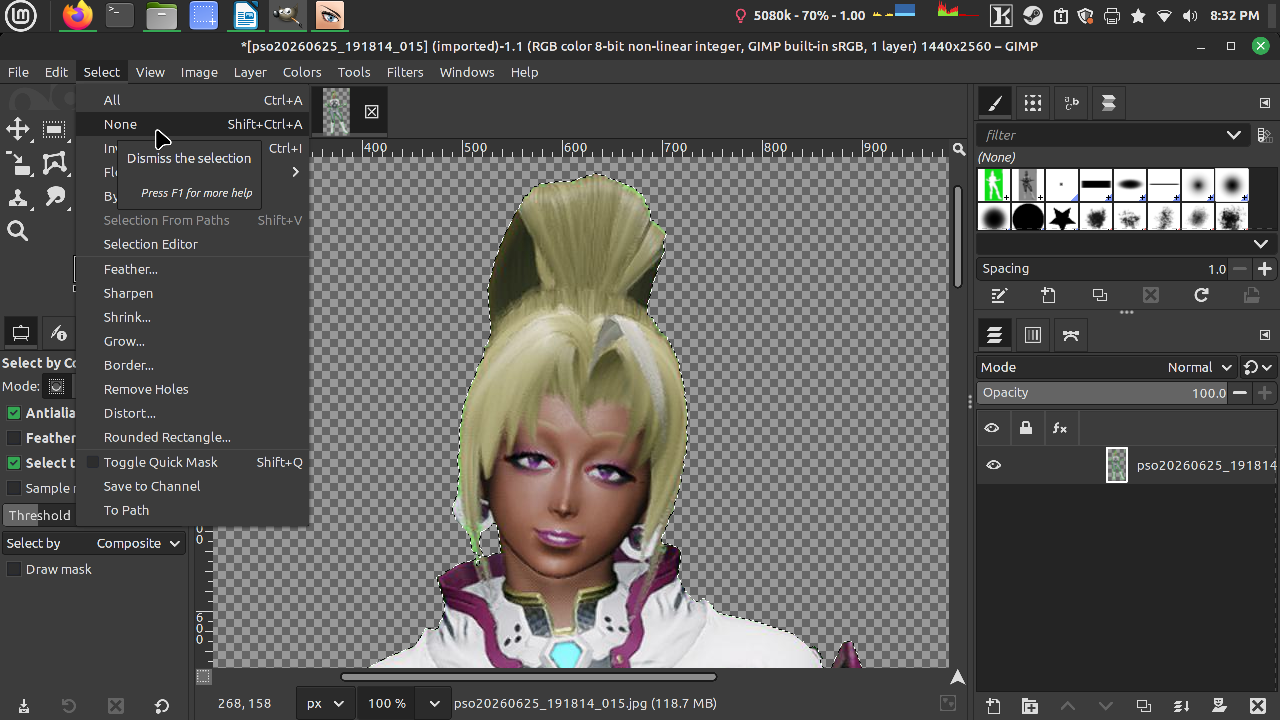
Let's deselect first.
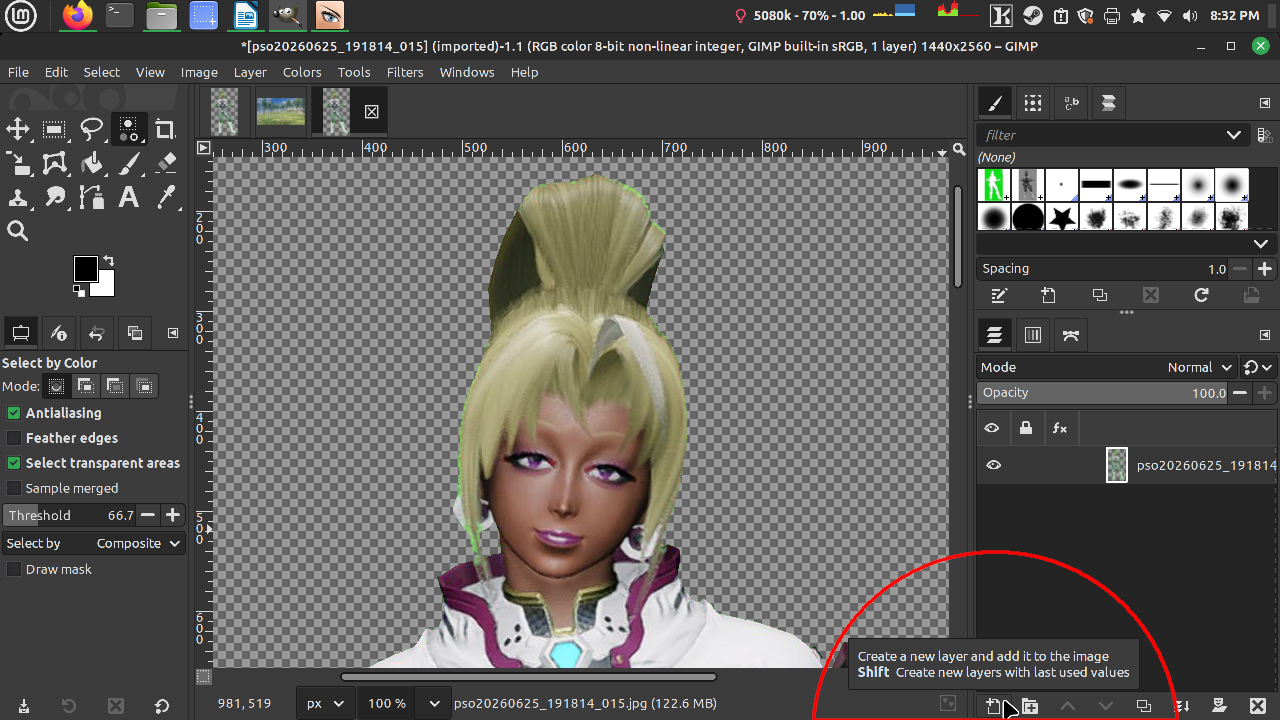
Then we going to make a new layer.
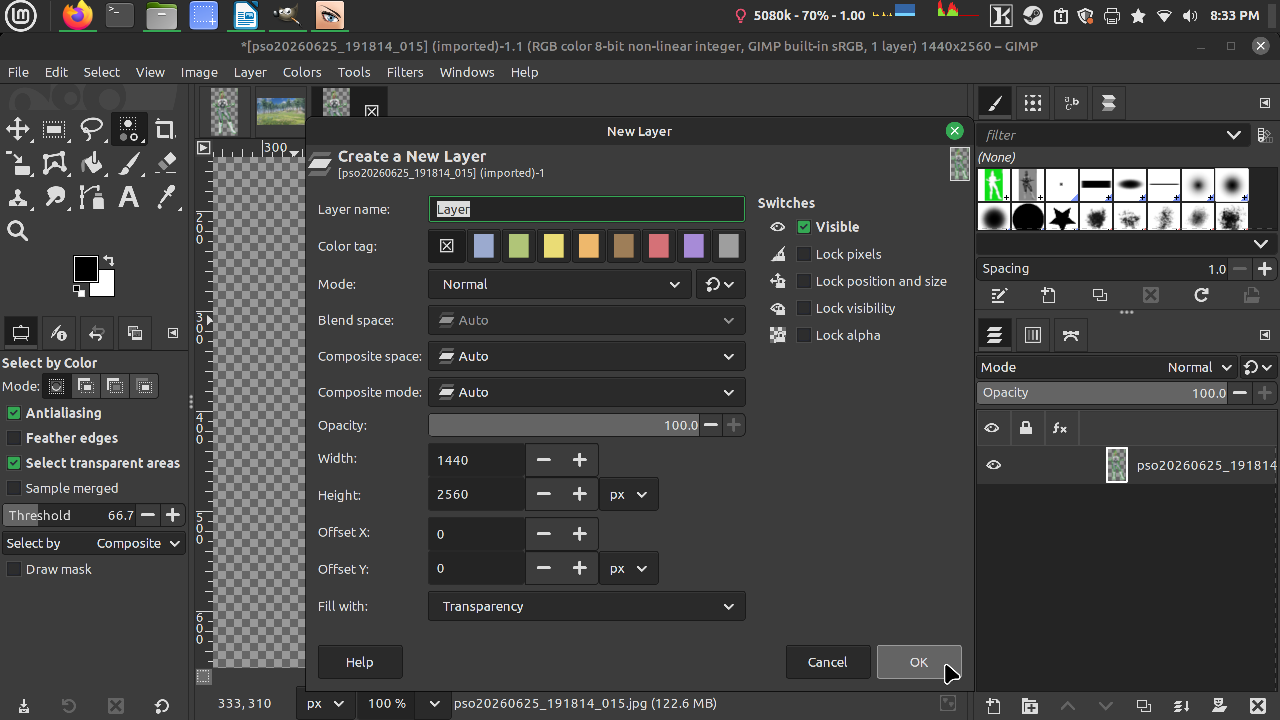
Make sure it's transparent.
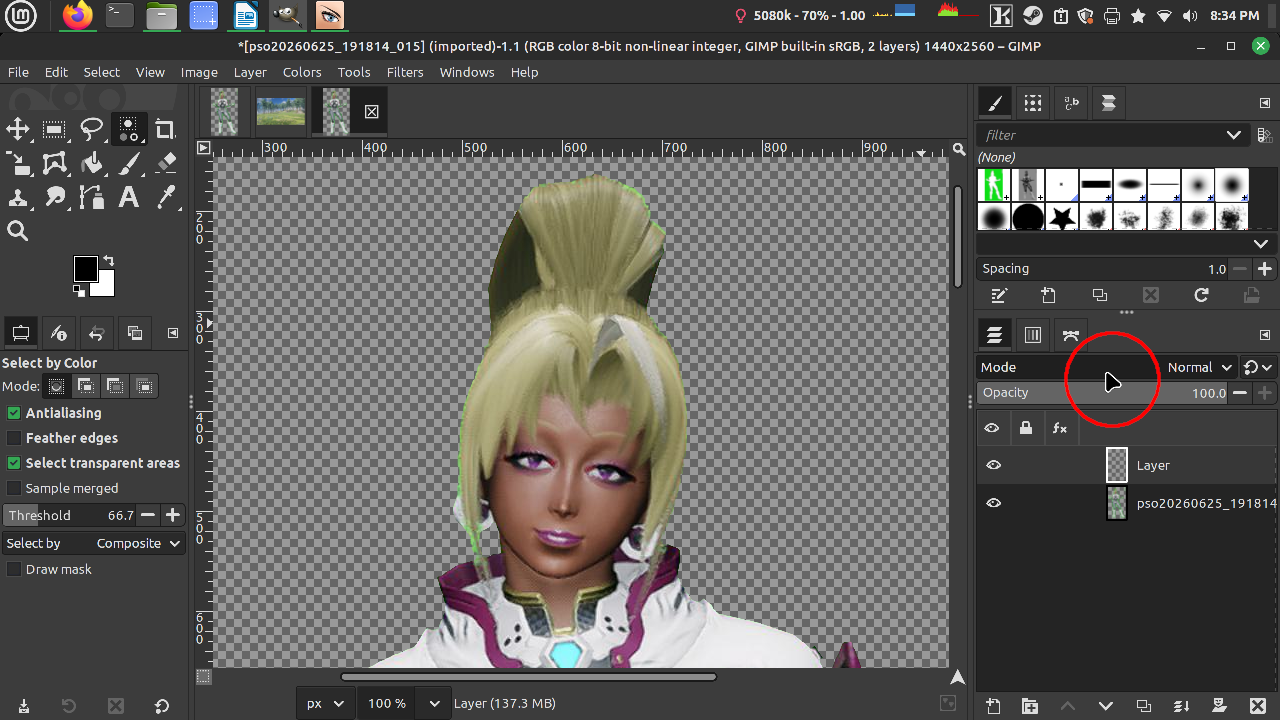
Click on mode.
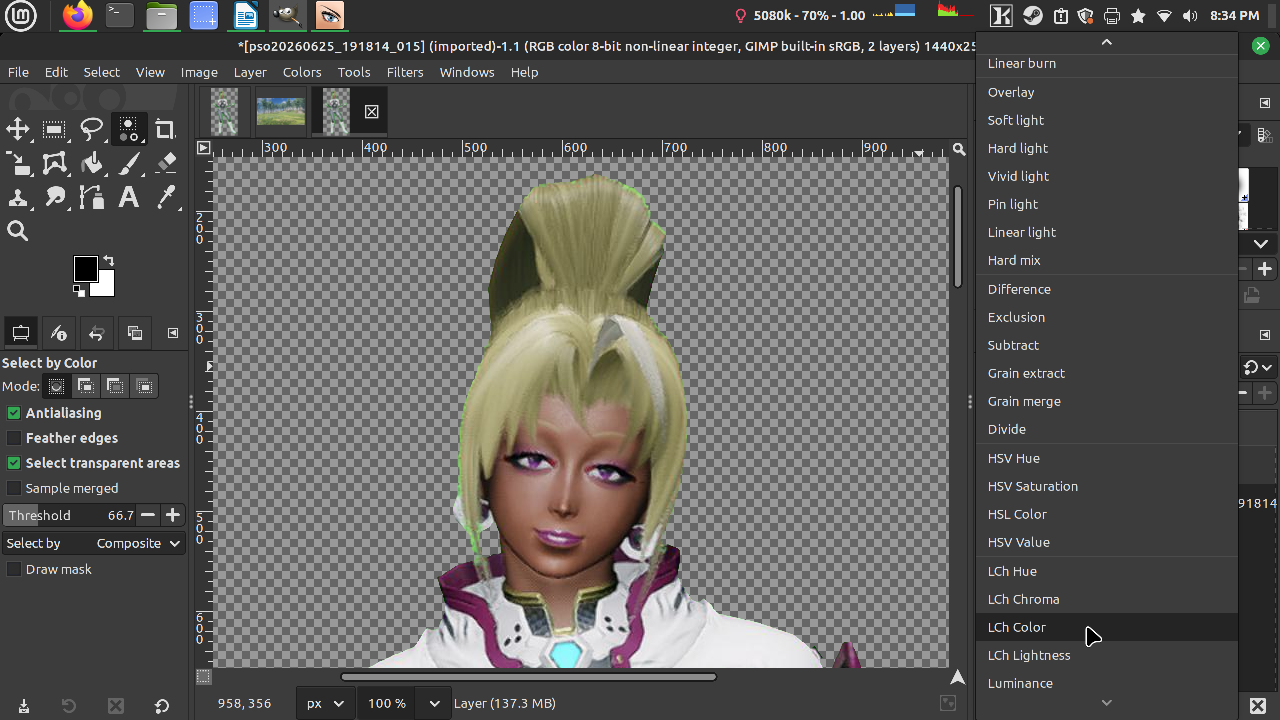
Scroll all the way down to LCh Color (you are welcomed to try others later on.)
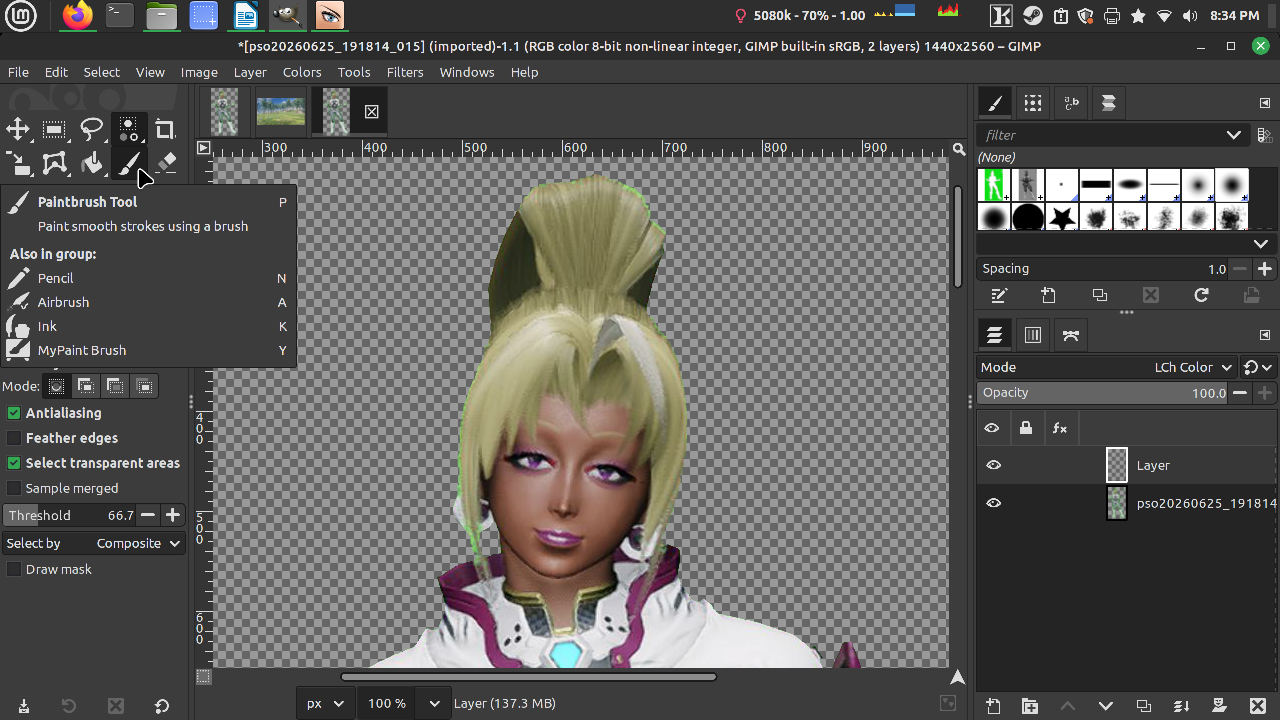
Paintbrush Tool (again, if you don't see it, right-click it and choose the correct tool.)
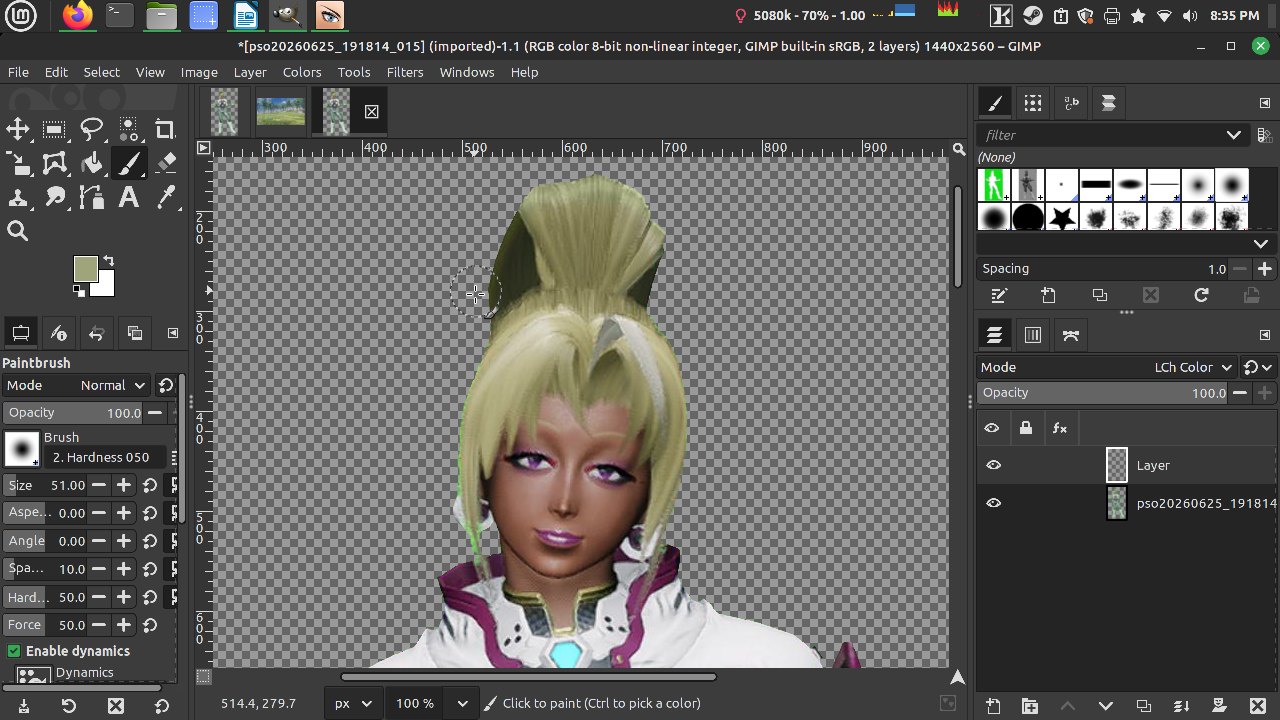
Hold Crtl to color pick and then brush the green colored area. In this case I am color picking my character's hair and then using the paintbrush around the edges of the hair.
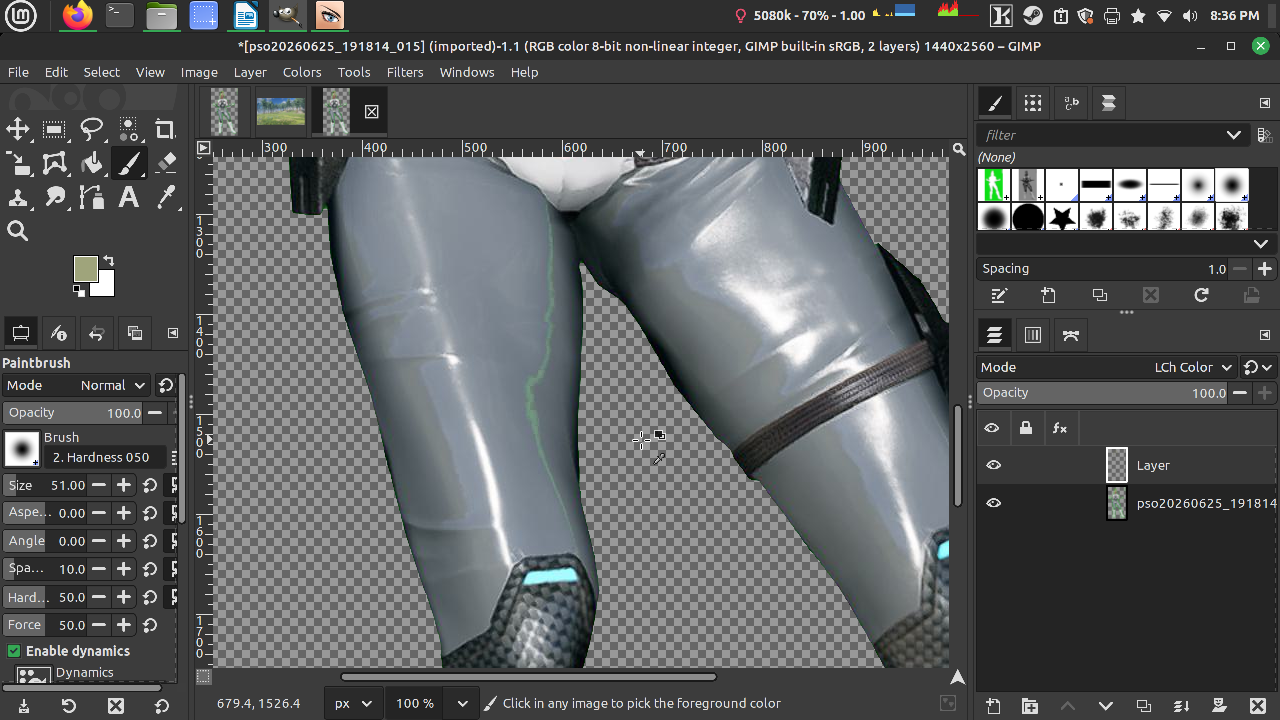
Something I want to showcase is that shiny outfits and oily skin can capture green colors too. Thankfully that can also be fixed.

And done! Fixed!
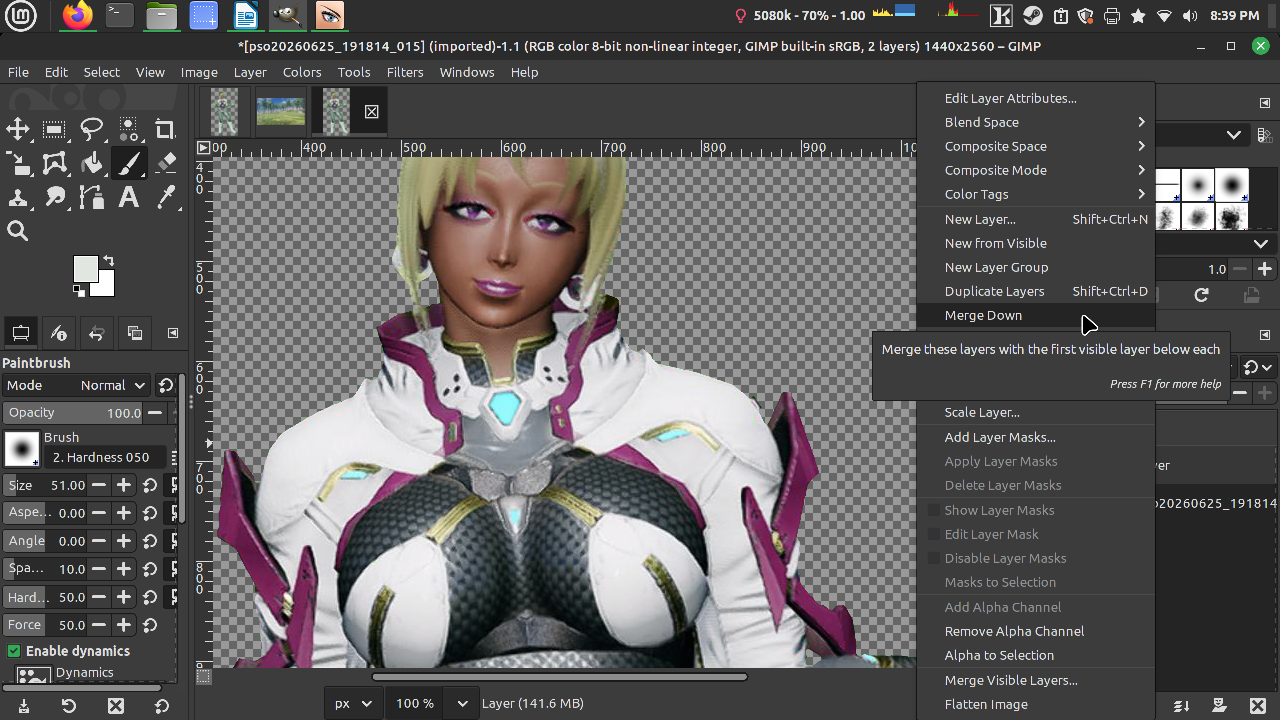
Right click on the paint-brushed layer and then Merge Down.
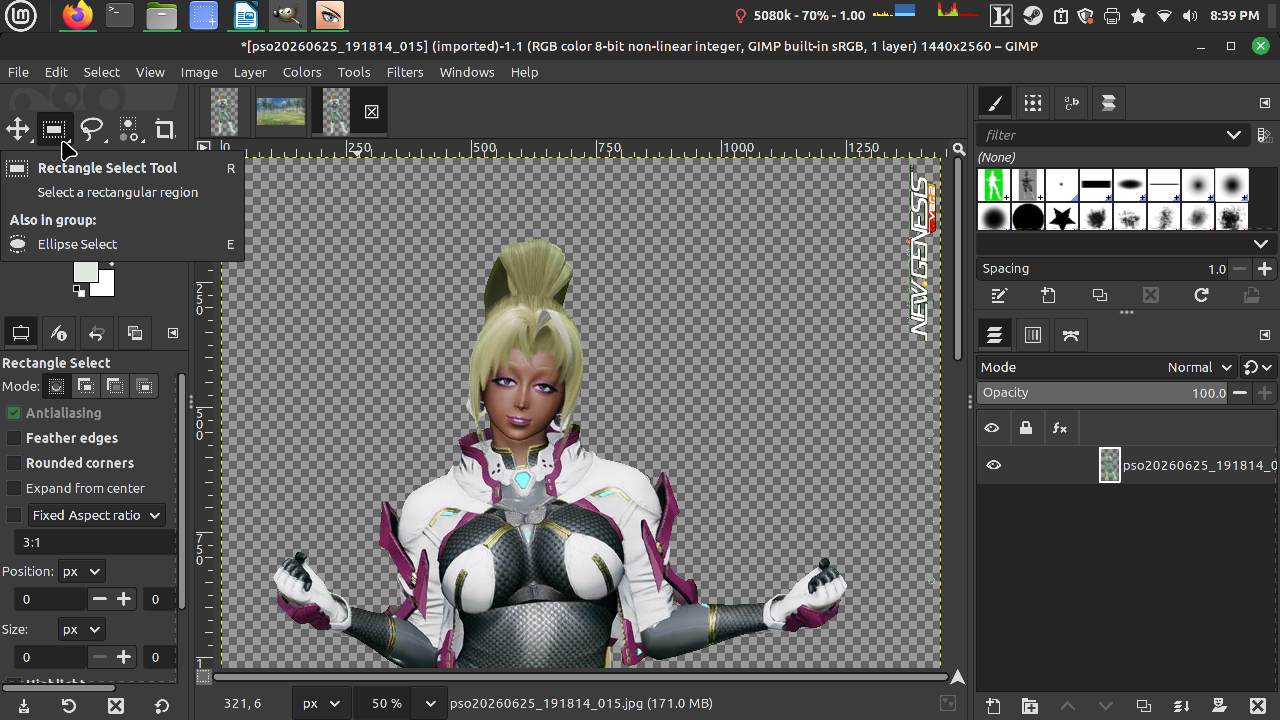
We are going to get rid of the NGS watermark. Click on the Rectangle Select Tool.
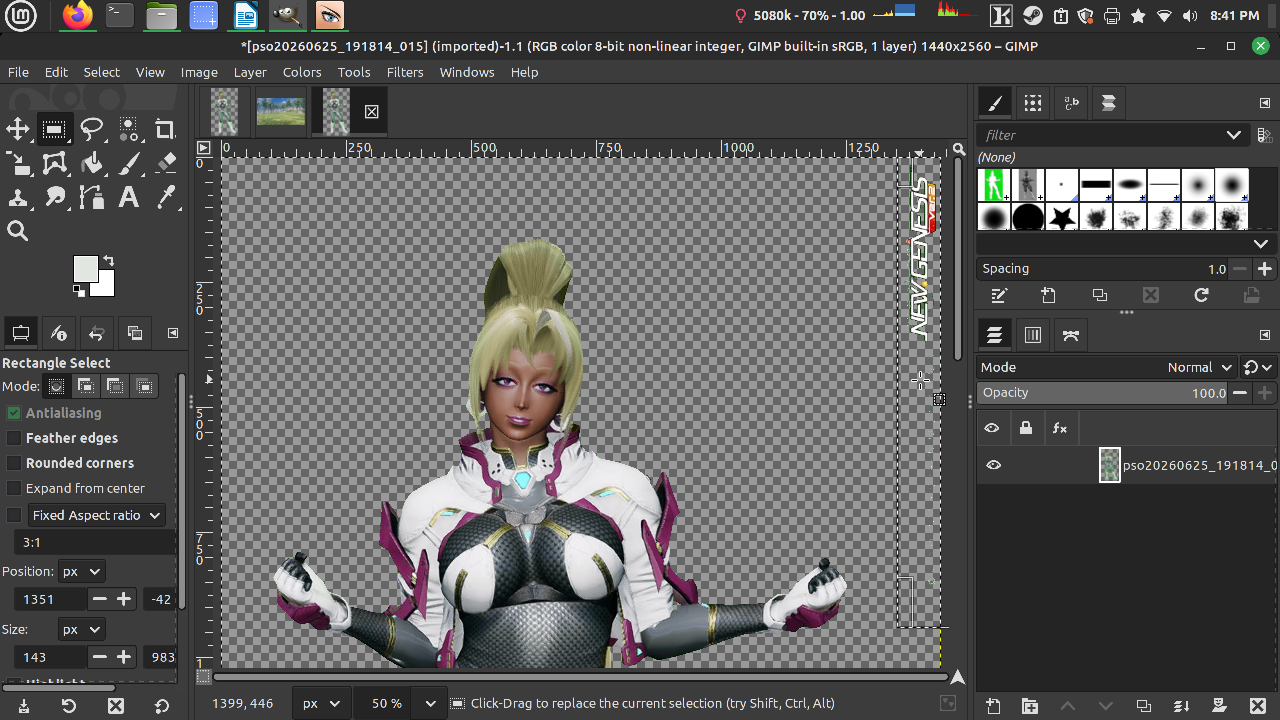
Select the area and either Cut or use the Delete key on your keyboard.
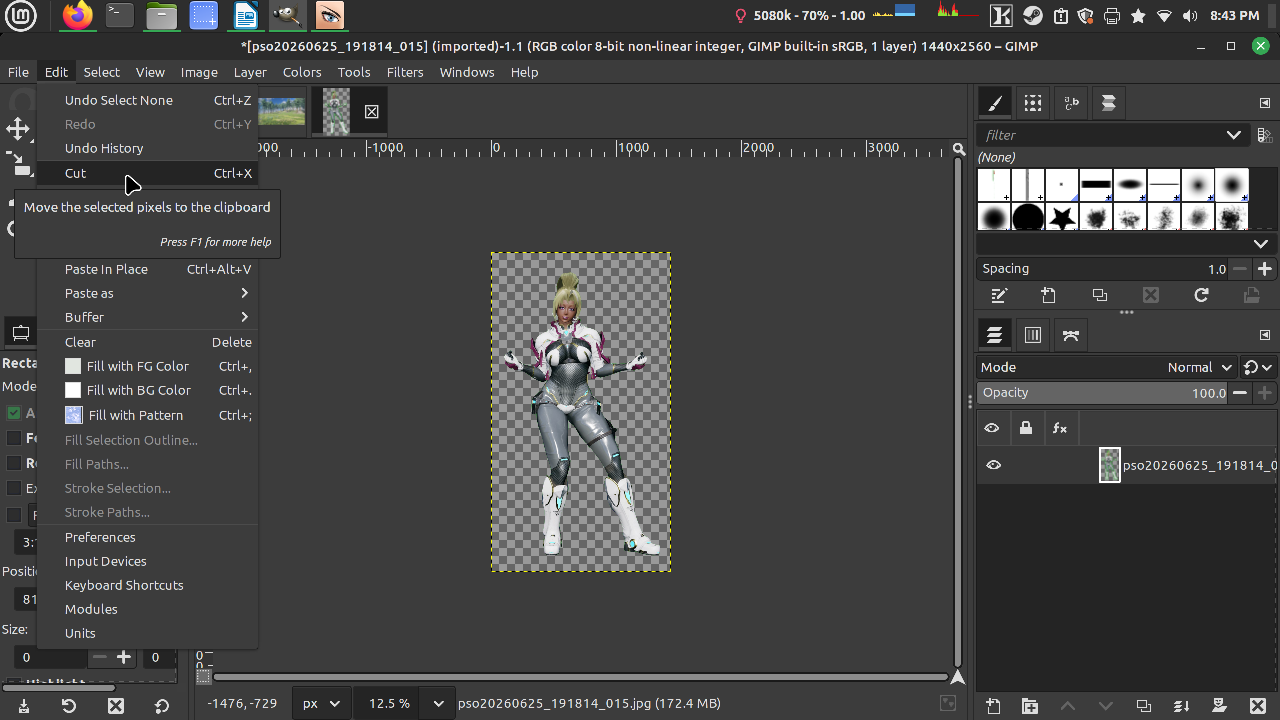
Deselect and then cut. If the character doesn't disappear then you did not deselect the region yet. (You can copy instead of cut if you want to.)

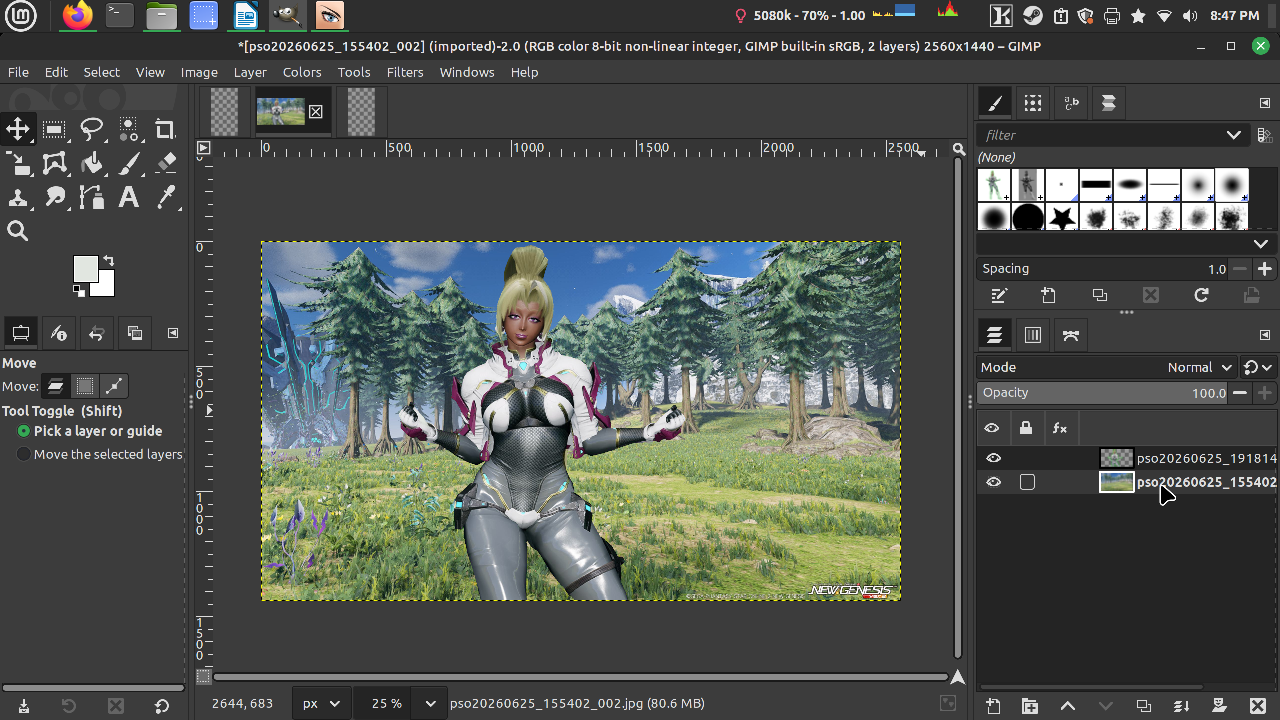
It's time we switch to a different file, click on the thumbnail of the other image, and then Paste as Single Layer.

Let's use the Move Tool to move the character to a suitable spot.
Click on the background image layer.
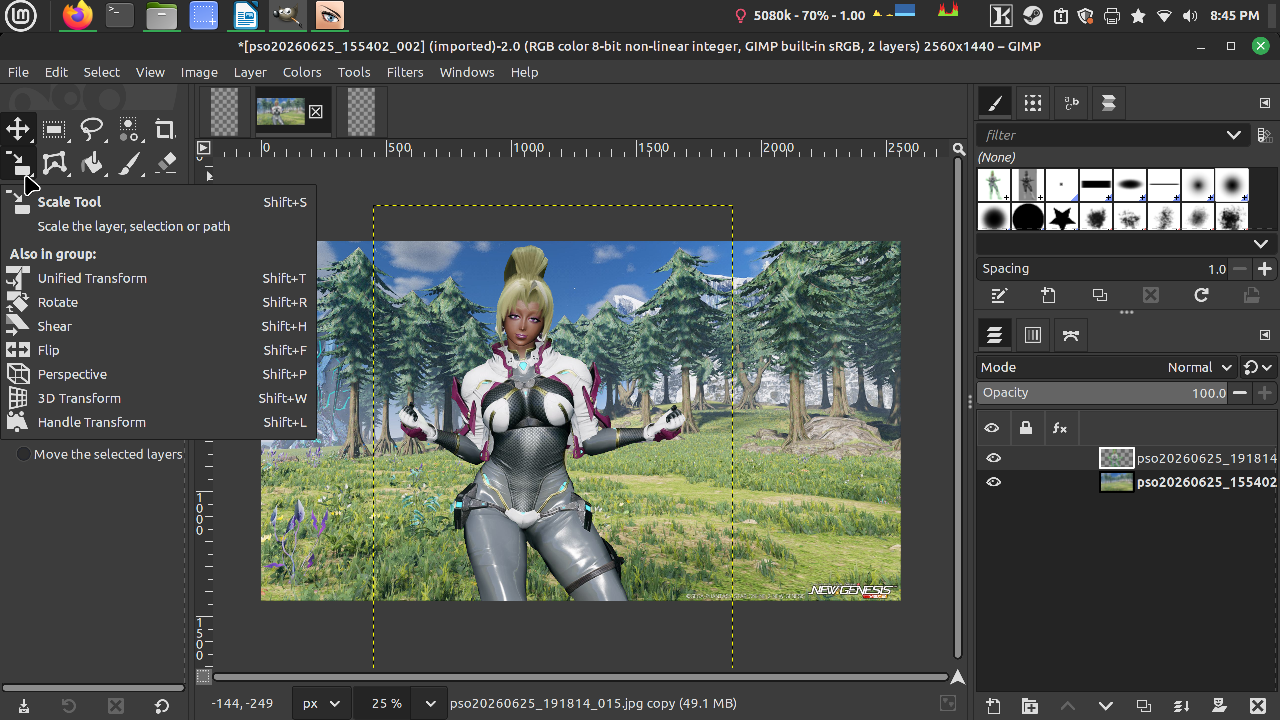
Click on the Scale Tool.
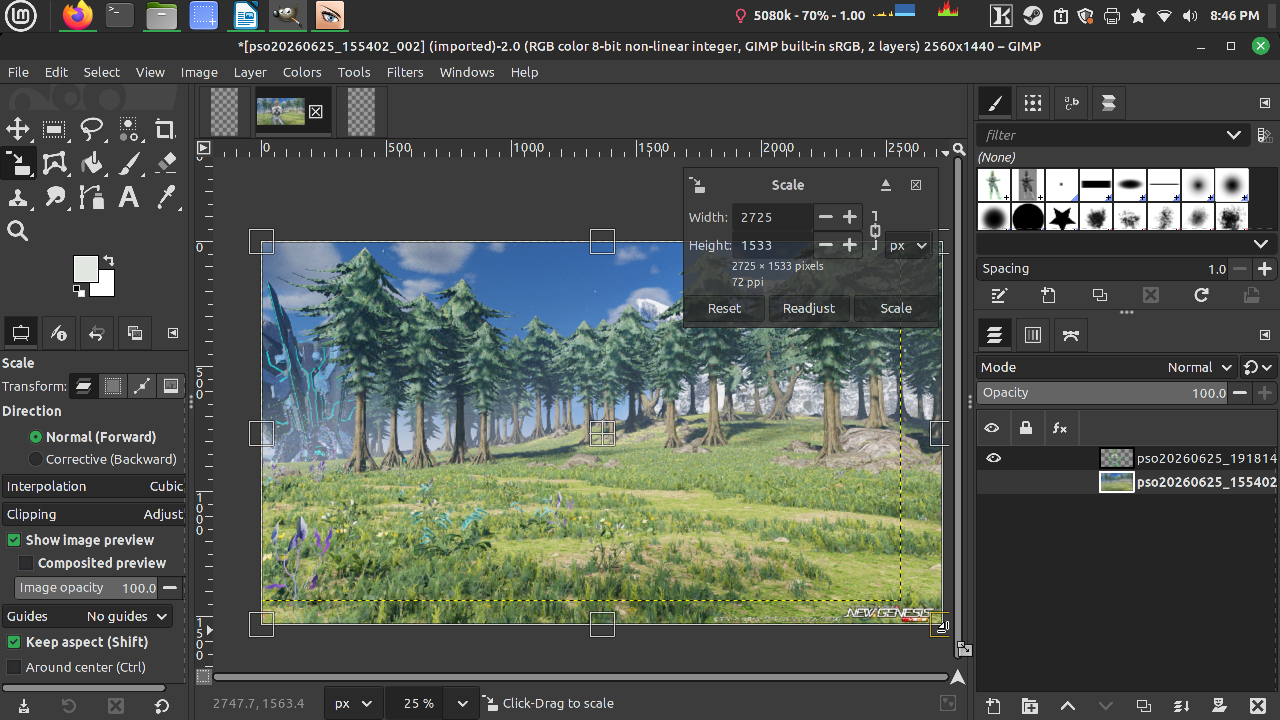
Click and drag the bottom right corner to the point where you cannot see the watermark anymore. Click on Scale or hit enter on your keyboard.
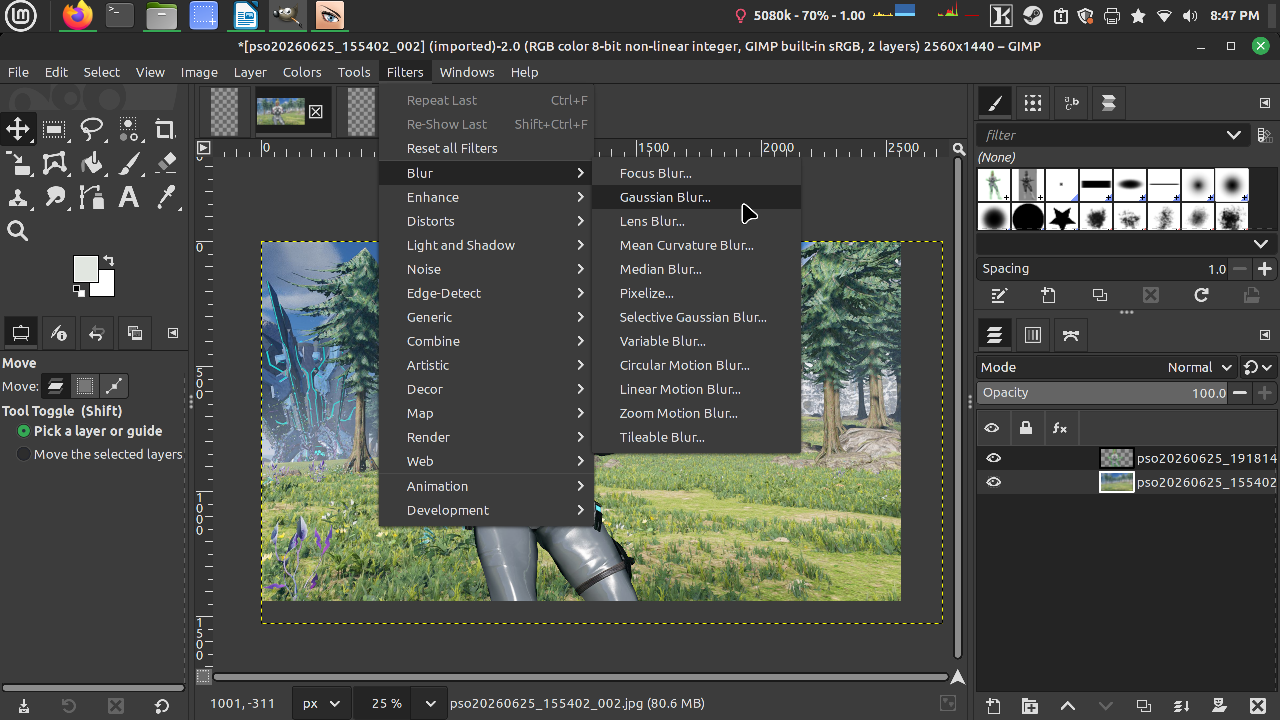
It's time to use the filters! Go to Gaussian Blur.
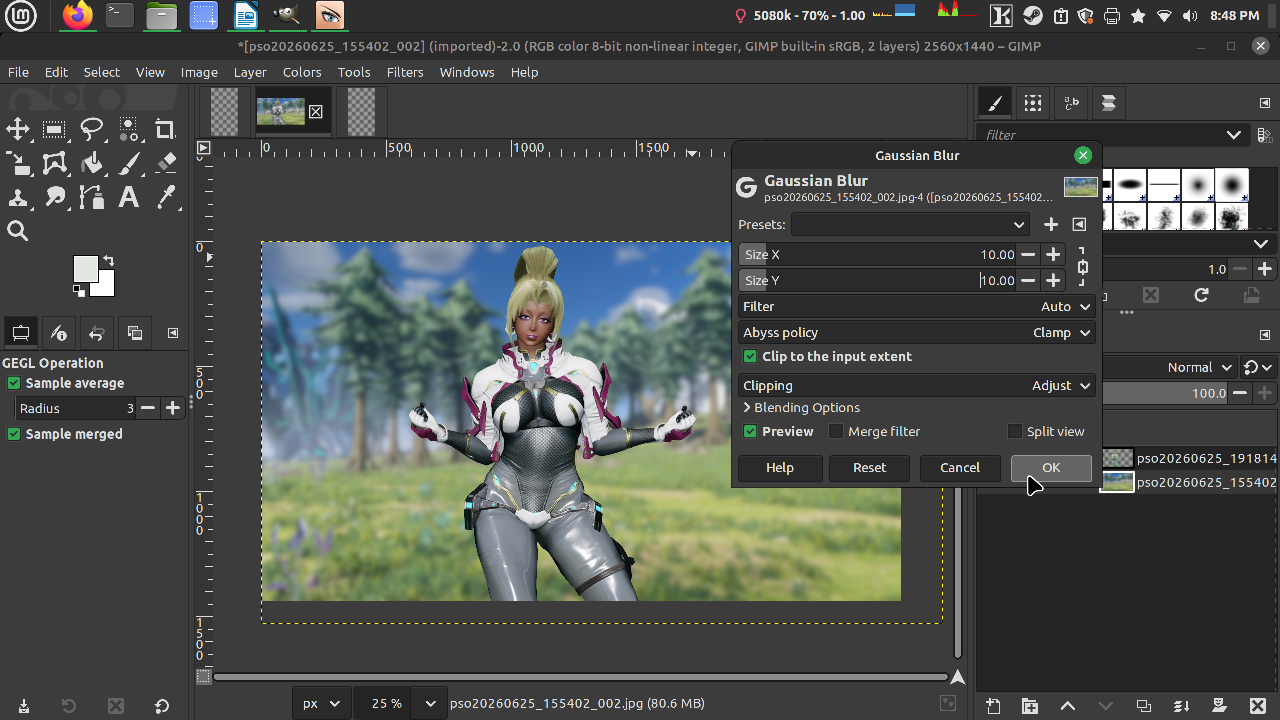
Set to whatever you desire.
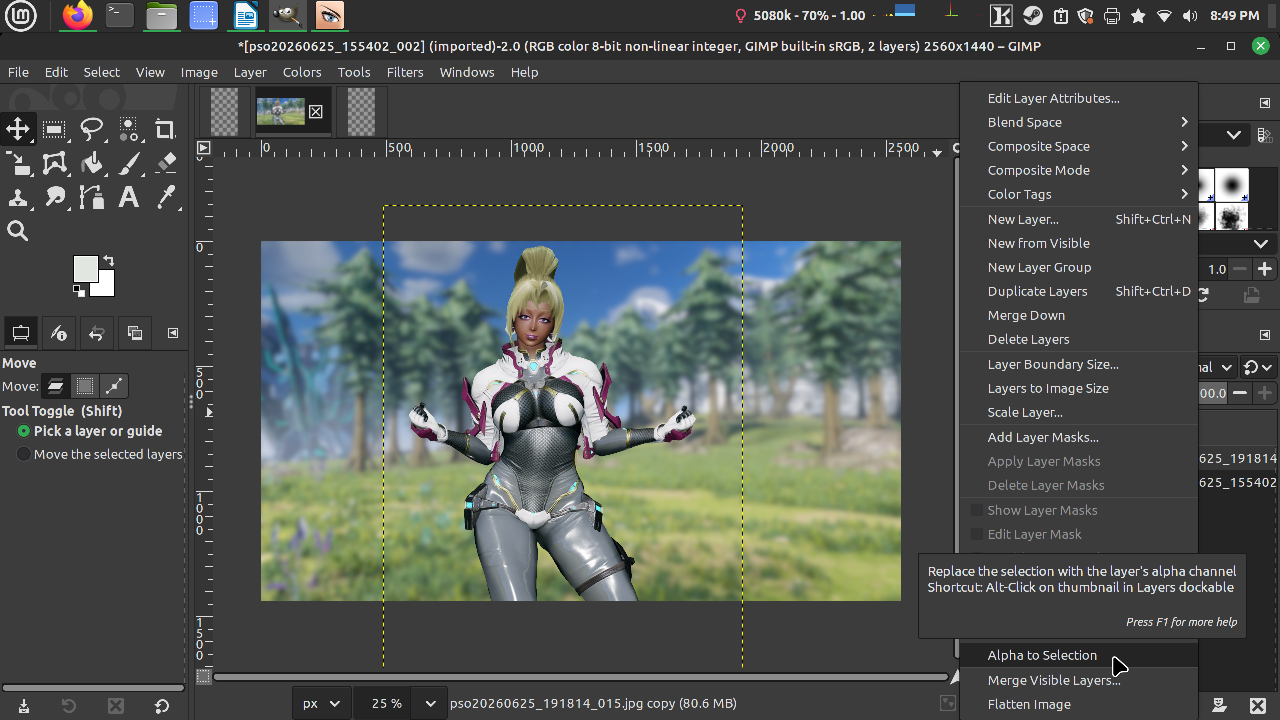
Our character looking too sharp, let's fix that. Click on the character layer and then Alpha to Selection.
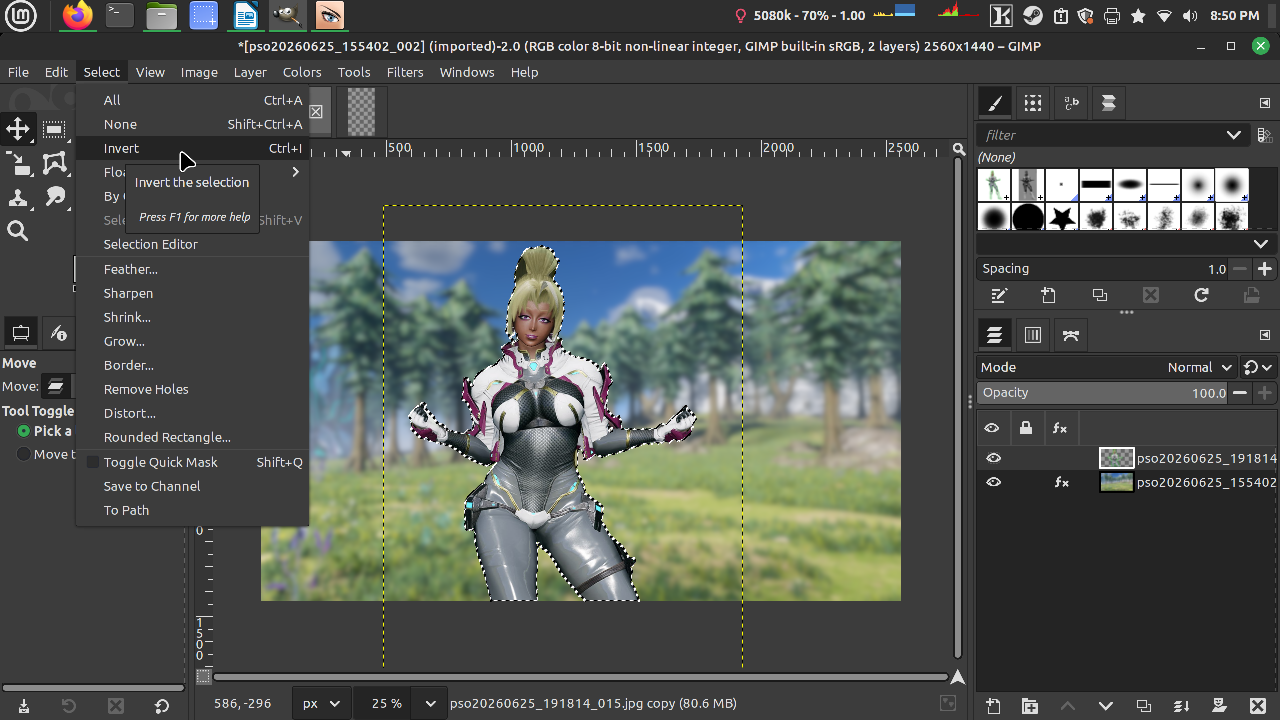
Then we gonna Invert.

Grow by 1 pixel again, hit enter.
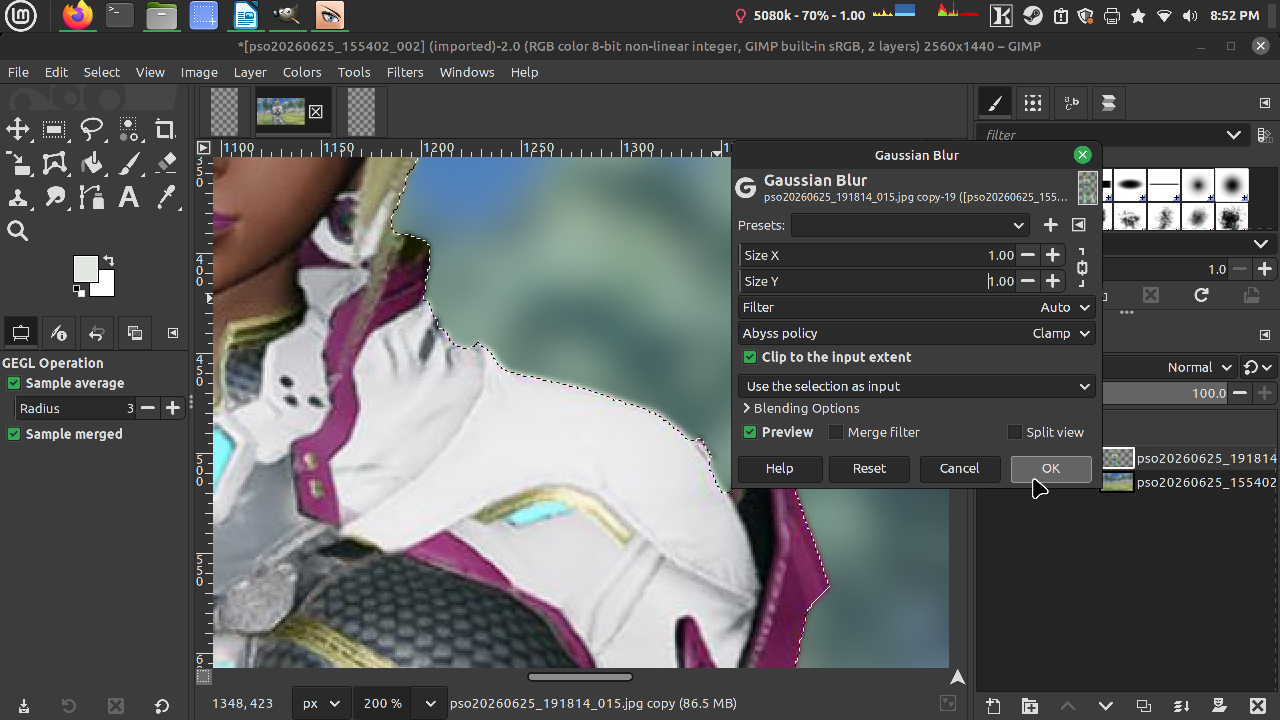
Go to Filters -> Blur -> Gaussian Blur again. This will soften the edges of our character.
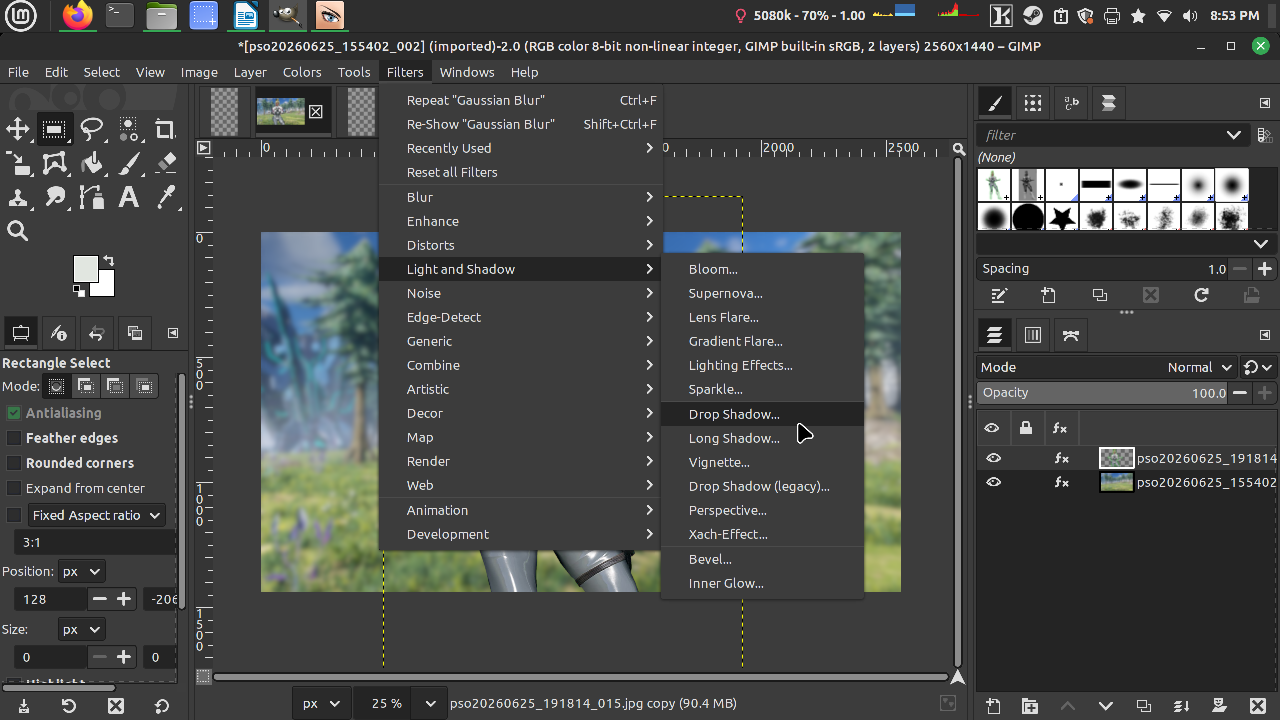
Next we are doing something else! Deselect and then go to Light and Shadow -> Drop Shadow.
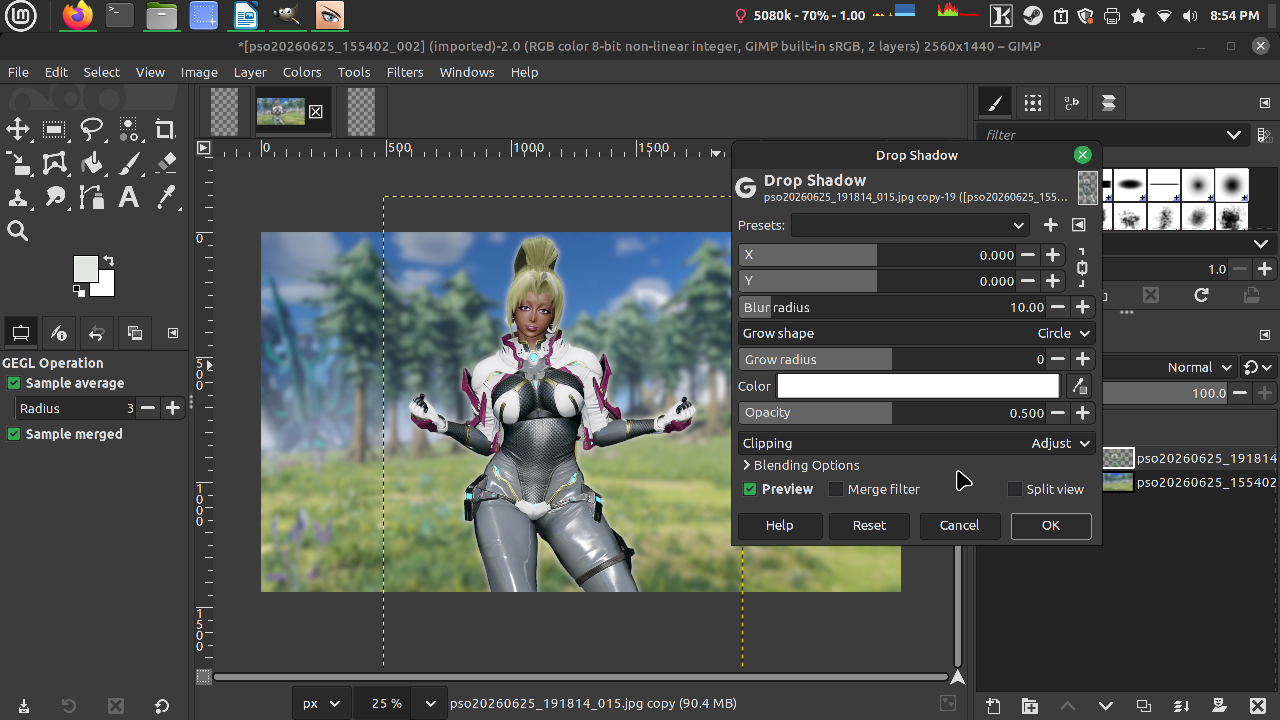
We going to provide a subtle glow. Not anything super distracting!
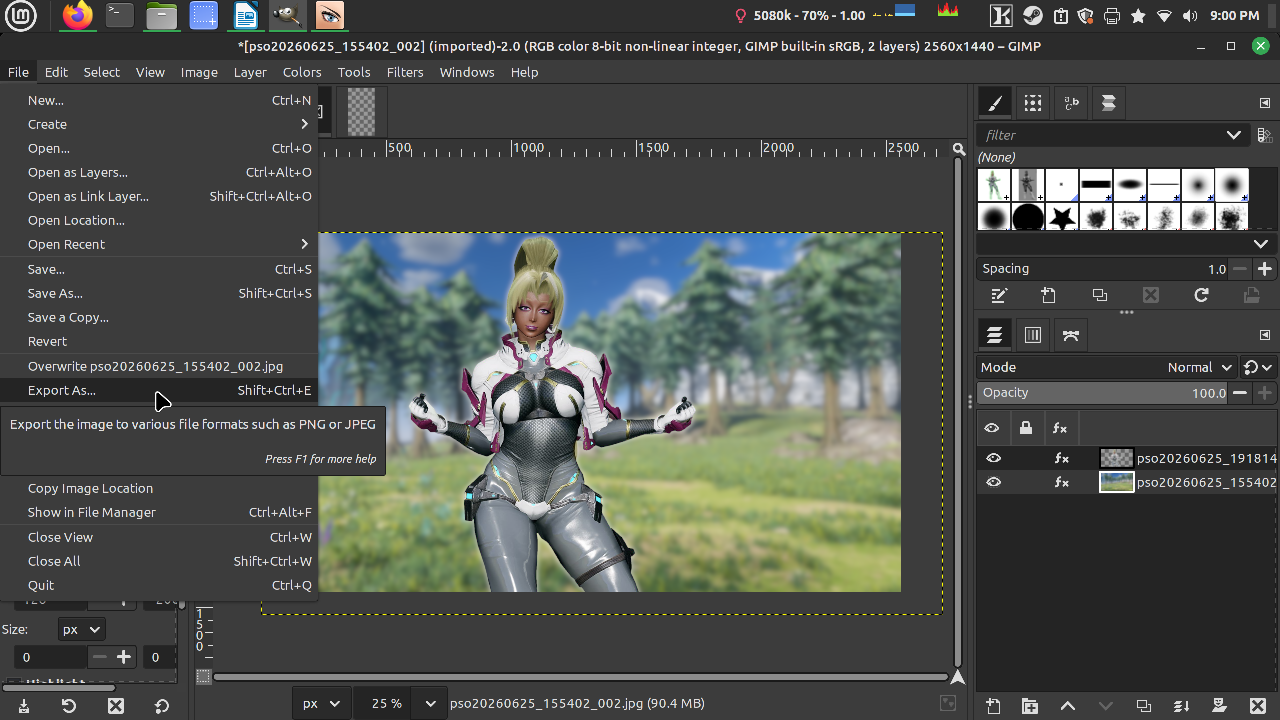
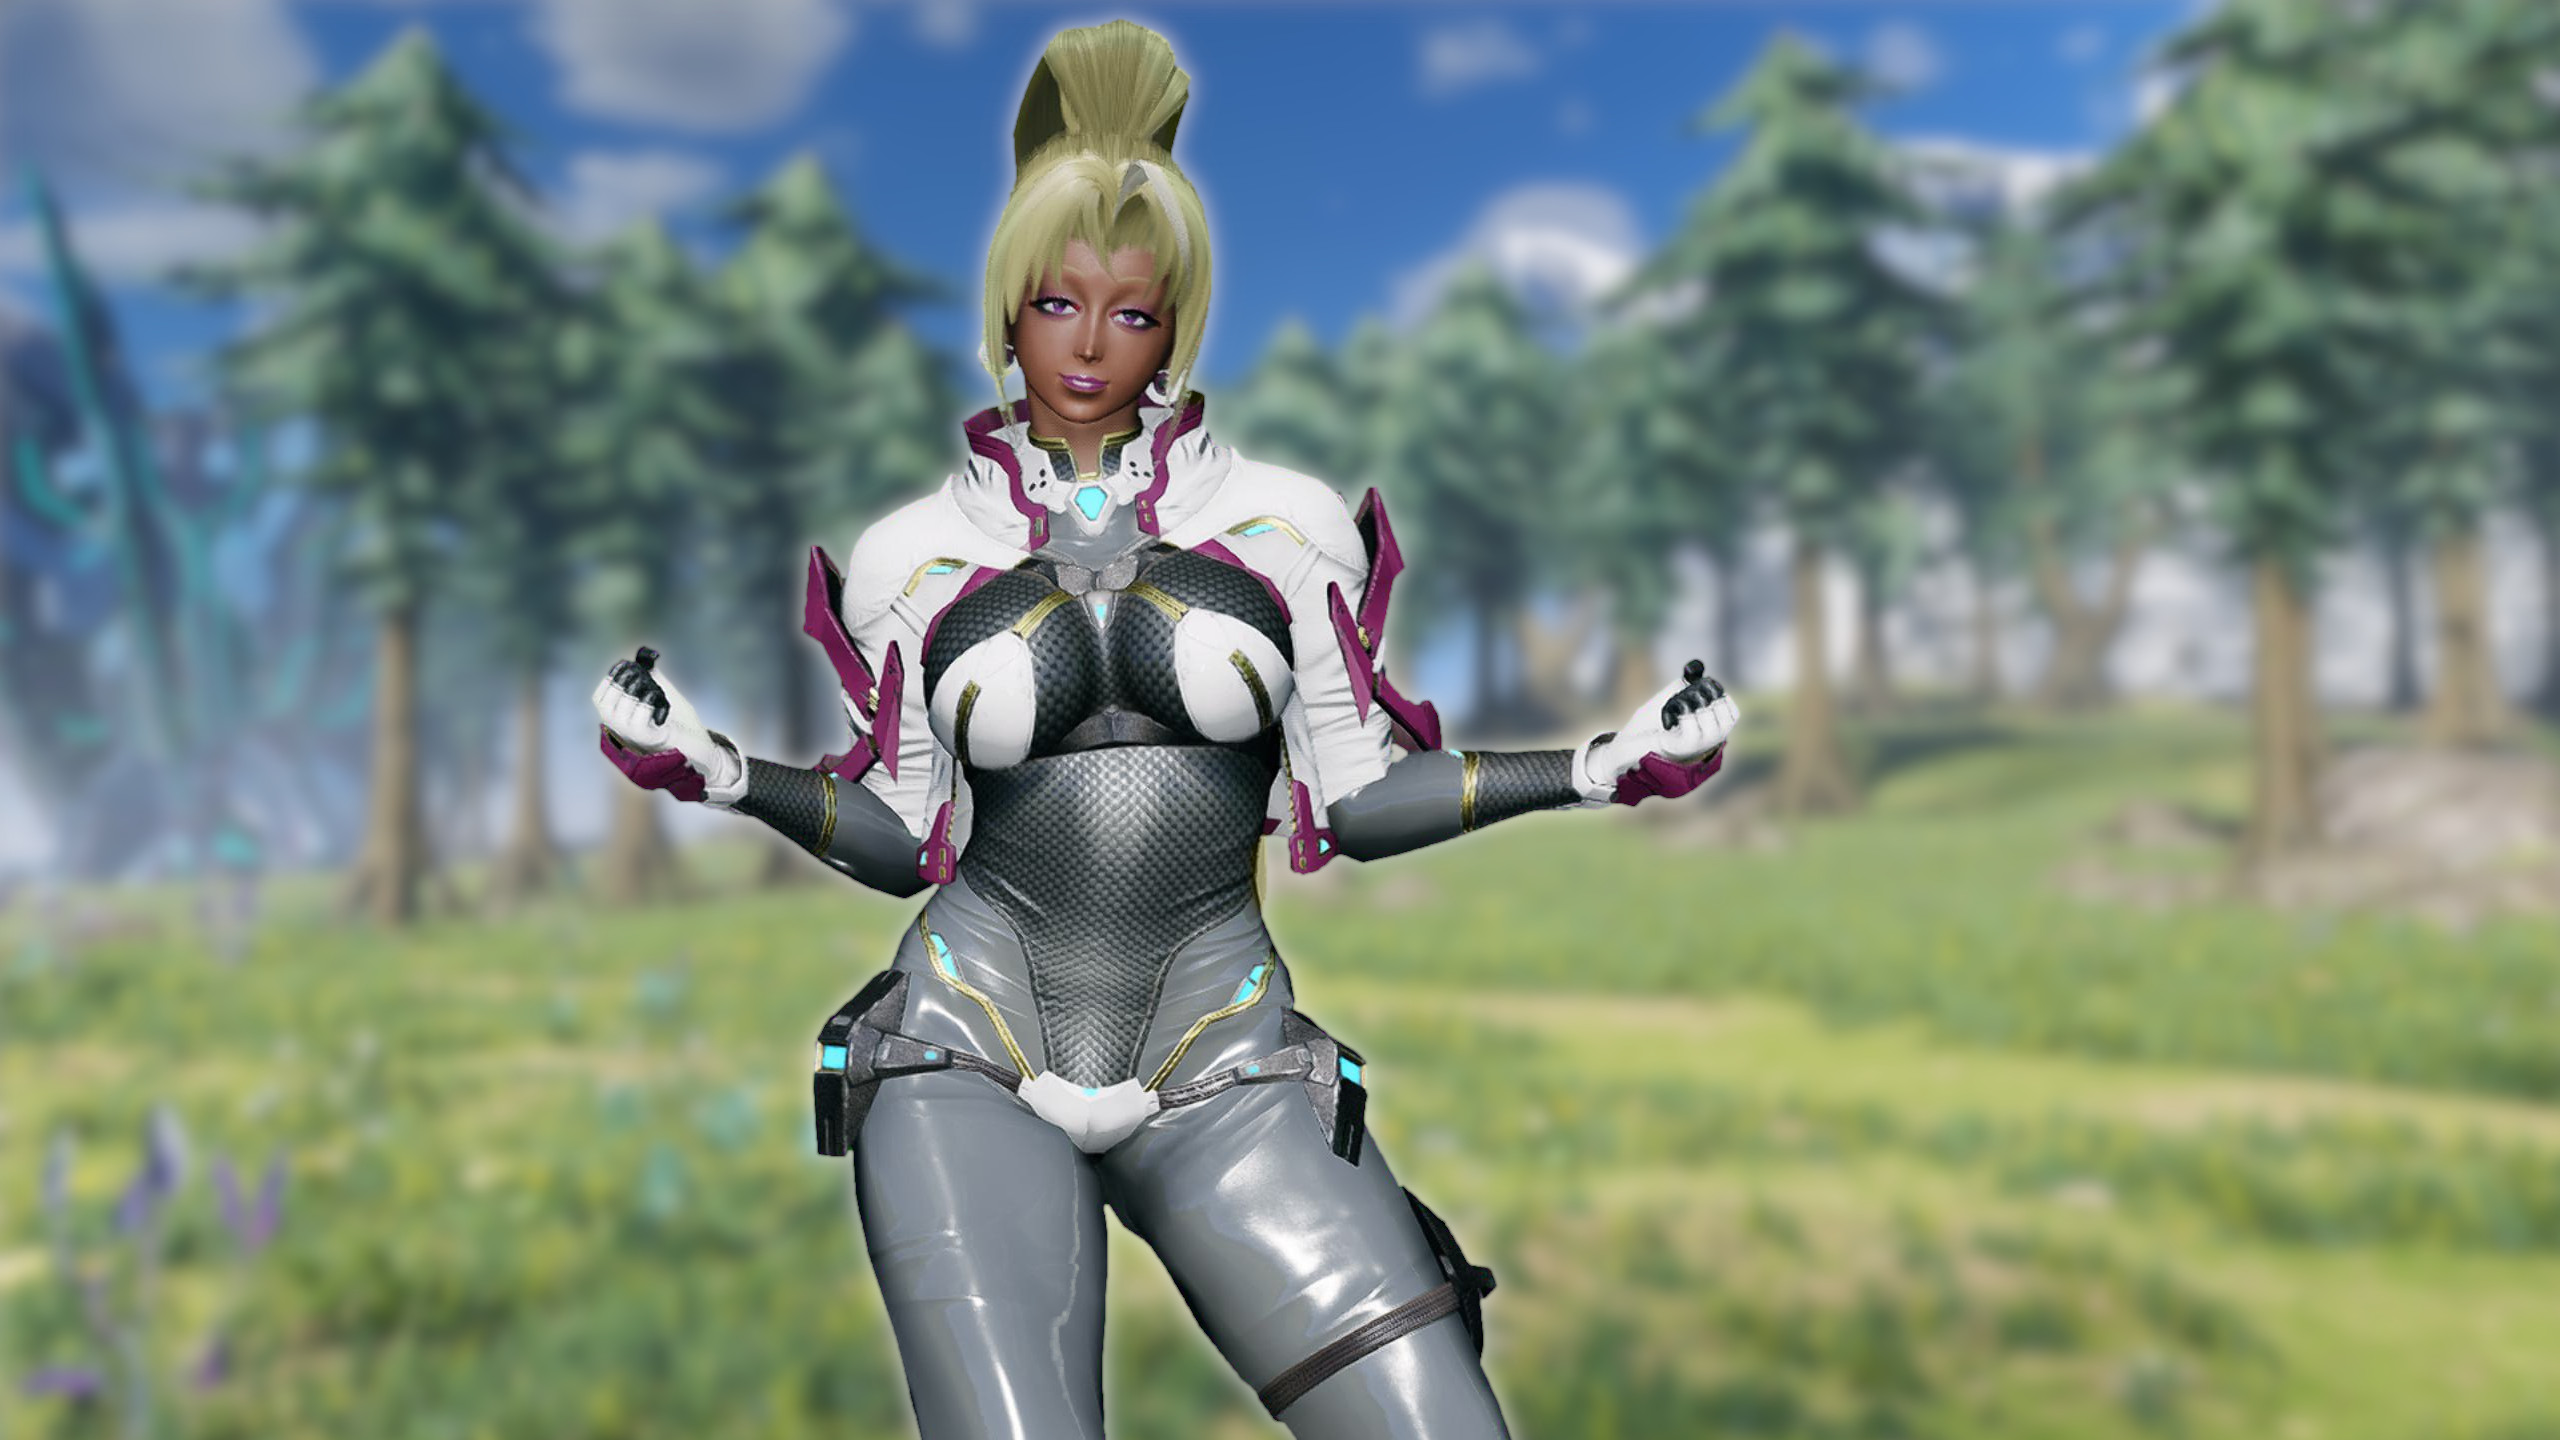
Time to export! Because we are done! Yipee!